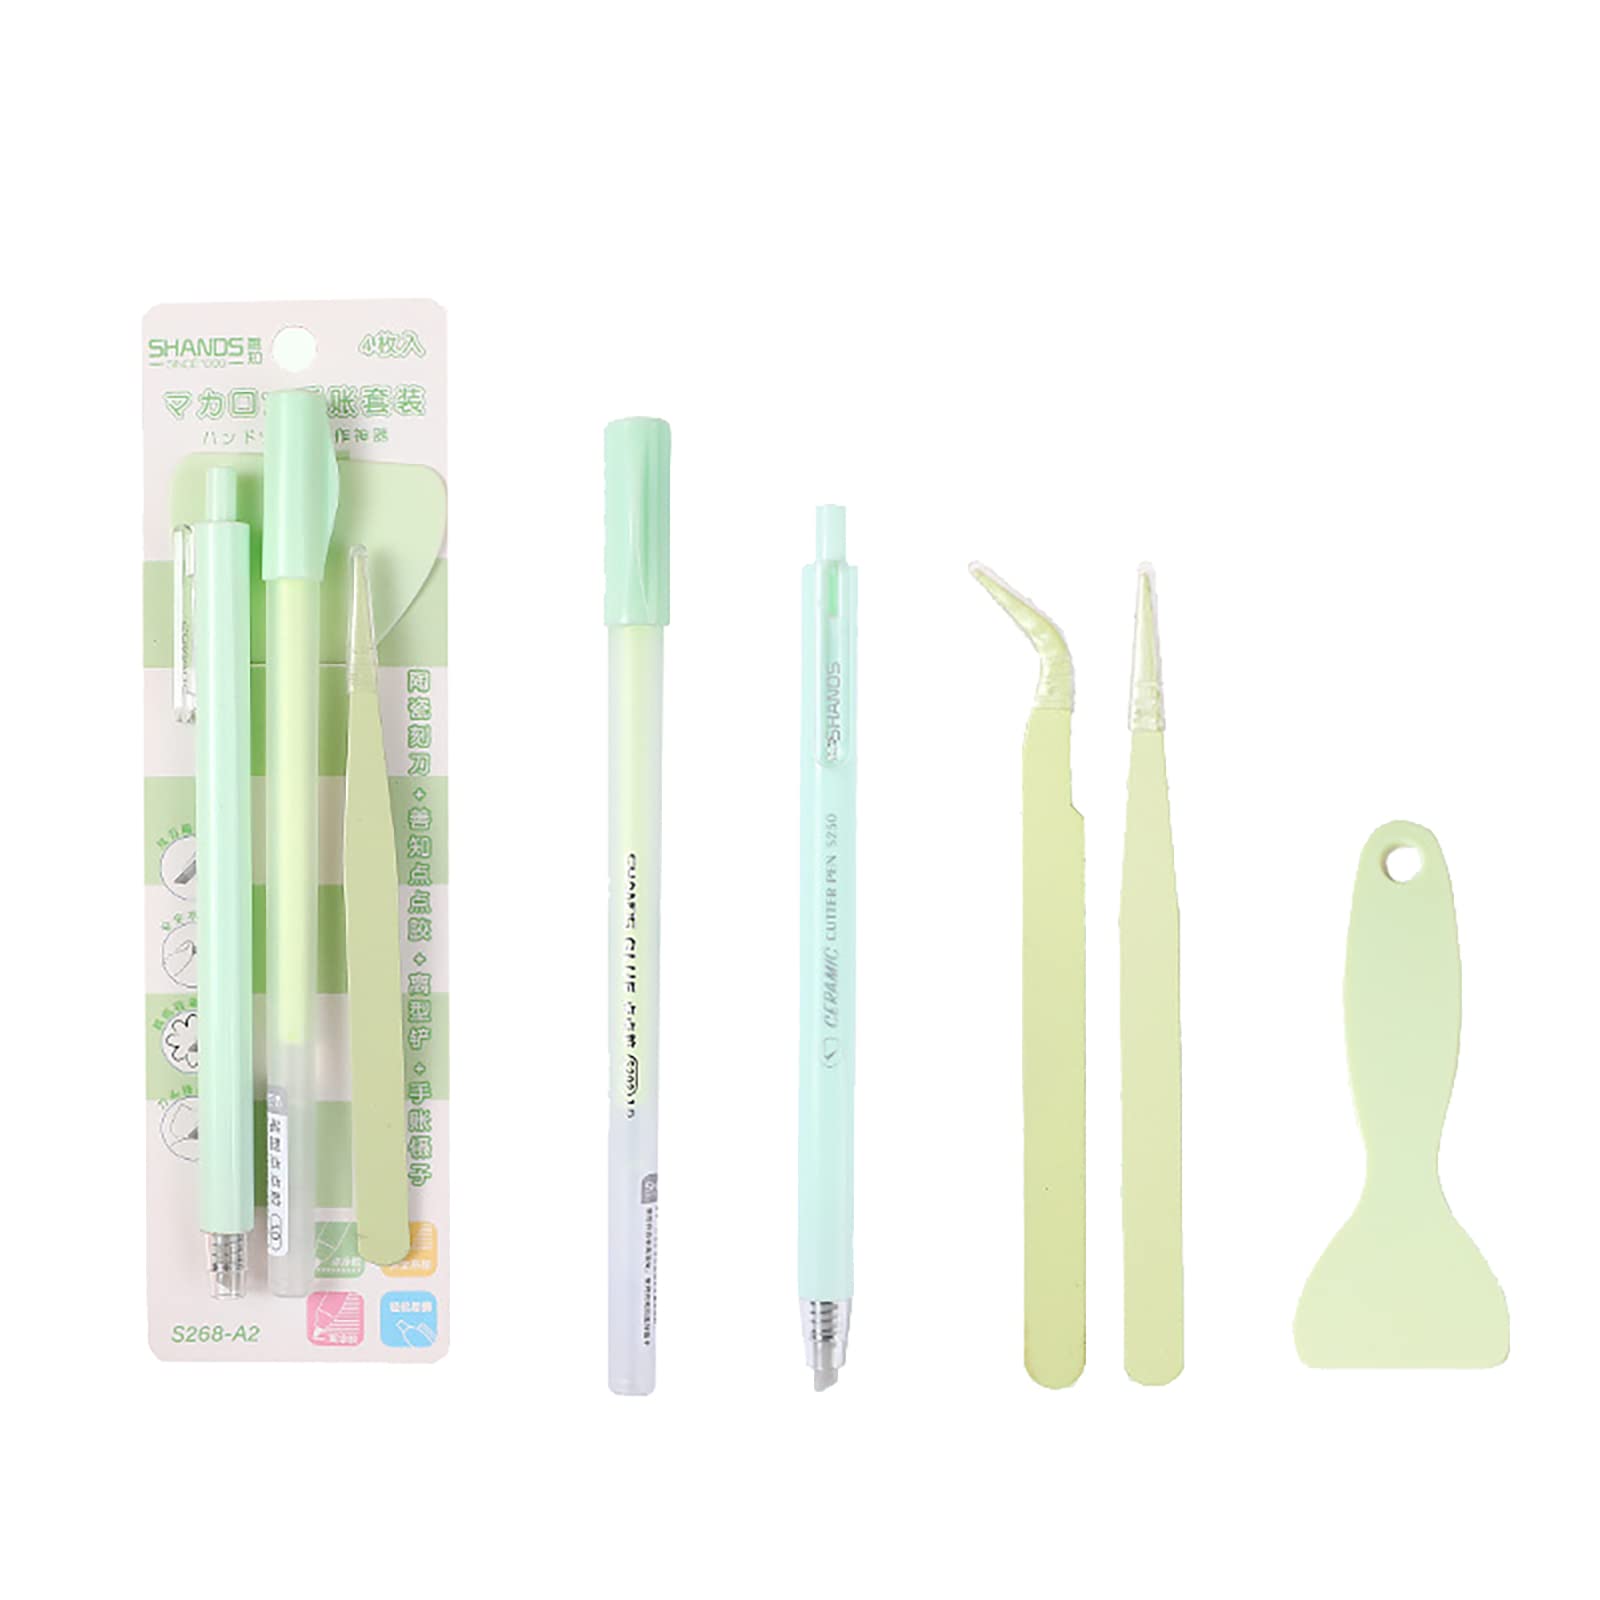
Tweezers, shovel, glue pen: the placement trio
A tweezer lifts a die-cut without touching it, a shovel pours small parts in a controlled line, and a glue pen puts adhesive exactly where the piece will sit. Together they replace fingers on anything smaller than a fingernail — and all three come in one $6.99 set that is the best-value tool purchase on the site.
The idea
The reason small pieces are hard is that fingers are too big and too sticky. Each tool in the trio solves one half of that problem.
Tweezers — for lifting, not for pressing
Pointed tweezers pick a sticker off its backing without bending the corner and place it without a thumbprint on the adhesive. The mistake is using them to press the piece down: press with a fingertip or a bone folder afterwards, because a tweezer tip marks soft paper.
Shovel — for pouring, not for scooping
A bead shovel is a small channel, and it works from a tilted container so the beads arrive one at a time at the tip. Scooping from a flat dish is what makes beads jump; tilt the dish and let gravity do the metering.
Glue pen — for edges and dots
A glue pen lays a thin controlled line, which is what thin paper needs. For a flat piece, run the line around the edge rather than filling the middle: edges-only holds just as well, keeps paper from cockling, and lets you lift the piece back up if the placement was wrong.
What about blending brushes
A separate job: they move pigment, not pieces. Five finger-size sponge blenders in a set so you can keep one per colour family instead of washing one out between colours. Tap the brush off on scrap paper between colours — the first press after a colour change is always too heavy.
The process
Step by step
- 1
Set up a shallow tray
Work over a tray or the lid of a box, never a bare desk. It is the difference between a dropped bead and a lost bead, and it makes clean-up a single movement.
- 2
Lift, place, then release
Peel the piece with the tweezer, put it in position while still holding it, then press the tweezer open gently. Letting go before positioning is how a sticker lands on your sleeve.
- 3
Tilt the container and use the shovel
Tip the bead dish toward you, slide the shovel in at the low side. Pour from just above the target — height is what scatters beads.
- 4
Draw glue on the edges, not the middle
Edge lines for flat pieces, single dots for anything dimensional or curved. Wait a few seconds for the glue to tack before pressing.
- 5
Clean the tweezer tip before storing
Dried glue is what makes a tweezer stop gripping. A wipe on the inside of your sleeve is enough, every session.
Small things that matter
- Keep the tweezer tip closed when stored. A bent tip is the only way these actually fail.
- A bead that will not pour is usually a bent bead. Pick it out rather than shaking harder, which loosens good beads too.
- Blend on scrap paper first after a colour change — the brush holds more pigment than it looks like it does.
- Buy the tool first and the consumables second. The tool is used for years; beads and bells come in fifties for a couple of dollars and can follow later.
Made something with these?
Readers post their finished pages on the Journal wall — a photo and a line about how you built it is plenty.